To install IPTV on iPhone, you need to update your iOS version, prepare a stable internet connection, download a compatible IPTV app from the App Store (such as IPTV Smarters Player Lite, GSE Smart IPTV, or IPTV Smarter Player), obtain your credentials from your IPTV provider, enter the server URL and login details in the app, and finally test the streaming on a few channels.
The entire process takes less than 10 minutes and requires no jailbreak, no advanced technical skills, and no extra hardware. iPhones running iOS 14 or later are fully compatible with all major IPTV apps, allowing smooth playback in HD or 4K depending on your connection.
For a reliable, secure, and high-quality streaming experience on iPhone, a trusted IPTV Subscription provides instant activation, optimized servers for mobile devices, 24/7 customer support, and a satisfaction-guaranteed policy.
In this guide, you’ll find the 7 essential steps to install IPTV on iPhone, choose the right app, configure your credentials, and customize your viewing experience for the best possible quality.
Step 1: Verify your iPhone compatibility and iOS version
The first step is to make sure your iPhone meets the technical requirements to run an IPTV app smoothly. Most modern IPTV apps require iOS 14 or later and at least 100 MB of free storage.
Open your iPhone Settings app.
1- Tap “General” then “About“.
2- Check your iOS version next to “Software Version“.
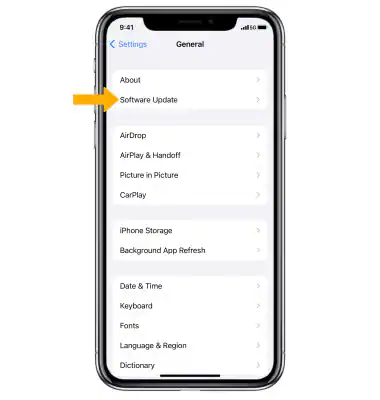
3- Update to the latest iOS via Settings → General → Software Update.
4- Free up at least 200 MB of storage for the IPTV app and cache.
5- Confirm your iPhone model (iPhone 7 or newer is recommended).
6- Restart your iPhone after the update to apply changes.
An updated iPhone ensures full compatibility with the latest IPTV apps, better streaming performance, and improved security features that protect your data while streaming.
Step 2: Prepare a stable internet connection
A stable connection is essential for smooth IPTV streaming on iPhone. Both Wi-Fi and 4G/5G work, but Wi-Fi 5 GHz is strongly recommended to avoid buffering and quality drops.
1- Connect to a 5 GHz Wi-Fi network if available.
2- Test your speed with a Speedtest app on iPhone.
3- Verify at least 10 Mbps for HD and 25+ Mbps for 4K streaming.
4- Disable background app refresh during streaming.
5- Close unused apps to free up bandwidth and memory.
6- Avoid public Wi-Fi networks for security reasons.
7- Restart your router if speeds are below expectations.
Streaming on cellular data is possible but consumes a lot of bandwidth: about 3 GB per hour in HD and up to 7 GB per hour in 4K. Plan accordingly to avoid overage charges from your mobile carrier.
Step 3: Choose the right IPTV app from the App Store
The App Store offers several reliable IPTV apps for iPhone, each with different features. Choosing the right one depends on your viewing habits and the format provided by your IPTV service.
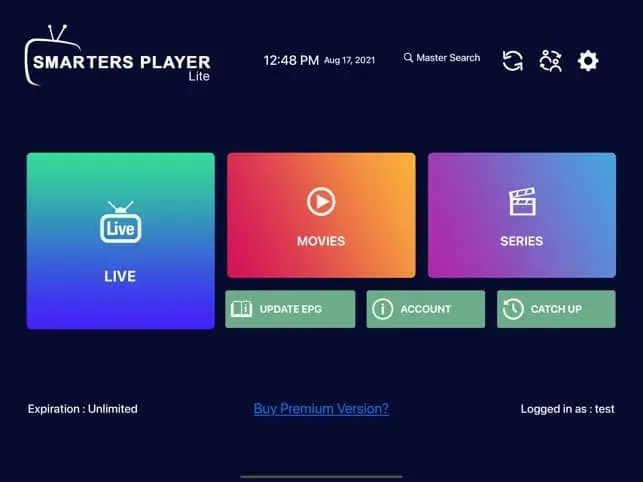
IPTV Smarters Player Lite — most popular, intuitive interface.
GSE Smart IPTV — supports both M3U and Xtream Codes.
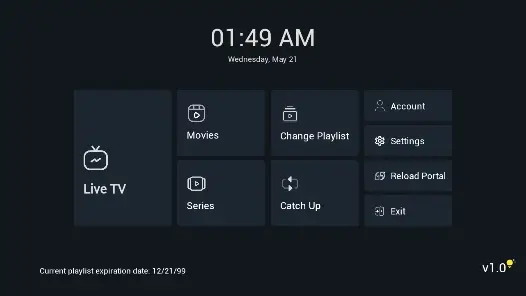
OTT Navigator — advanced features (favorites, EPG, recording).
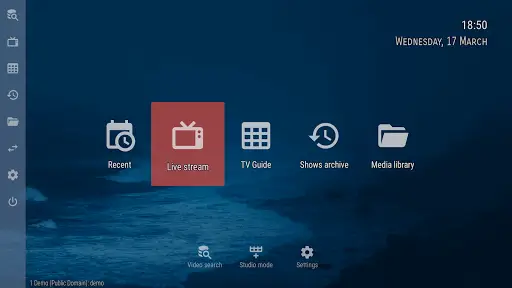
Streamio Player — universal player with M3U support.
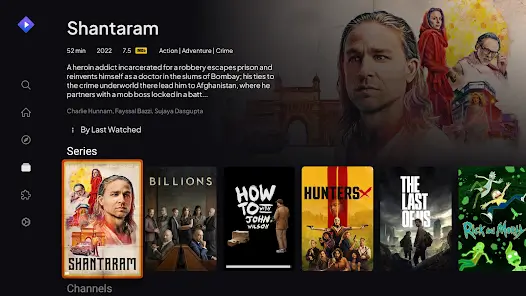
IPTV Smarter Player — alternative with clean layout.
Flix IPTV — light app, easy setup..
iPlayTV — paid app with advanced customization
According to PCMag, one of the longest-running American technology references since 1982, the choice of streaming app should be based on user reviews, regular updates, and the specific features that match your daily usage habits. Stick to apps with at least 4 stars and thousands of reviews to avoid buggy or insecure software.
Step 4: Download and install the IPTV app
Once you’ve chosen the right IPTV app, downloading it from the App Store is straightforward. The entire process takes less than 2 minutes on a normal Wi-Fi connection.
1- Open the App Store on your iPhone
2- Tap the search icon at the bottom right
3- Type the exact name of your chosen IPTV app
4- Verify the developer name and total reviews before downloading
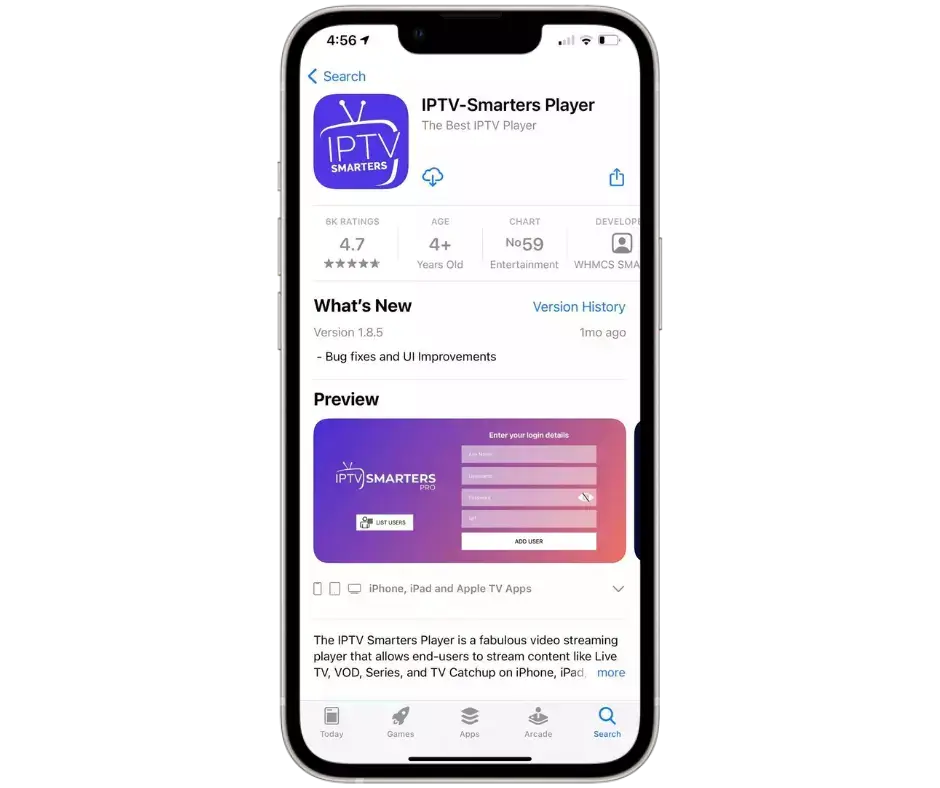
5- Tap the “Get” or download button
6- Authenticate with Face ID, Touch ID, or your Apple ID password
7- Wait for the installation to finish (usually 30–60 seconds)
For users completely new to IPTV, our complete tutorial on the IPTV installation guide for beginners covers the foundations applicable to all devices, including iPhone, before diving into specific app configurations.
Step 5: Get your IPTV credentials from your provider
To configure the IPTV app, you need the connection details provided by your IPTV service. These credentials are usually sent immediately after subscription confirmation.
1- Check your email inbox for the activation message.
2- Look for the server URL (also called Portal URL).
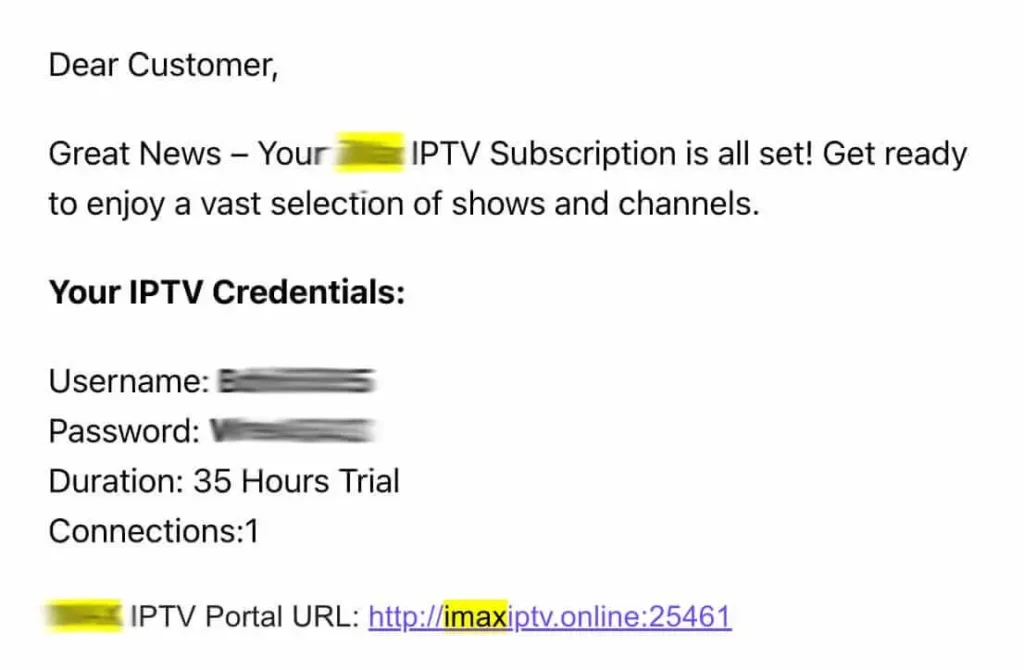
3- Note your username exactly as provided (case-sensitive).
4- Note your password exactly as provided.
5- Save the M3U URL if your app requires that format.
6- Contact customer support if the email hasn’t arrived within 30 minutes.
7- Keep these credentials private and secure at all times.
A serious IPTV provider will always deliver these credentials promptly and in a secure format. Avoid sharing them on forums or social media, as anyone with this information can access your subscription.
Step 6: Configure the app with your IPTV credentials
The configuration step is where you connect your app to the IPTV server. The process is similar across most apps and takes less than 2 minutes.
1- Open the IPTV app you just installed.
2- Accept the terms of use displayed on first launch.
3- Select “Add new playlist” or “Add user“.
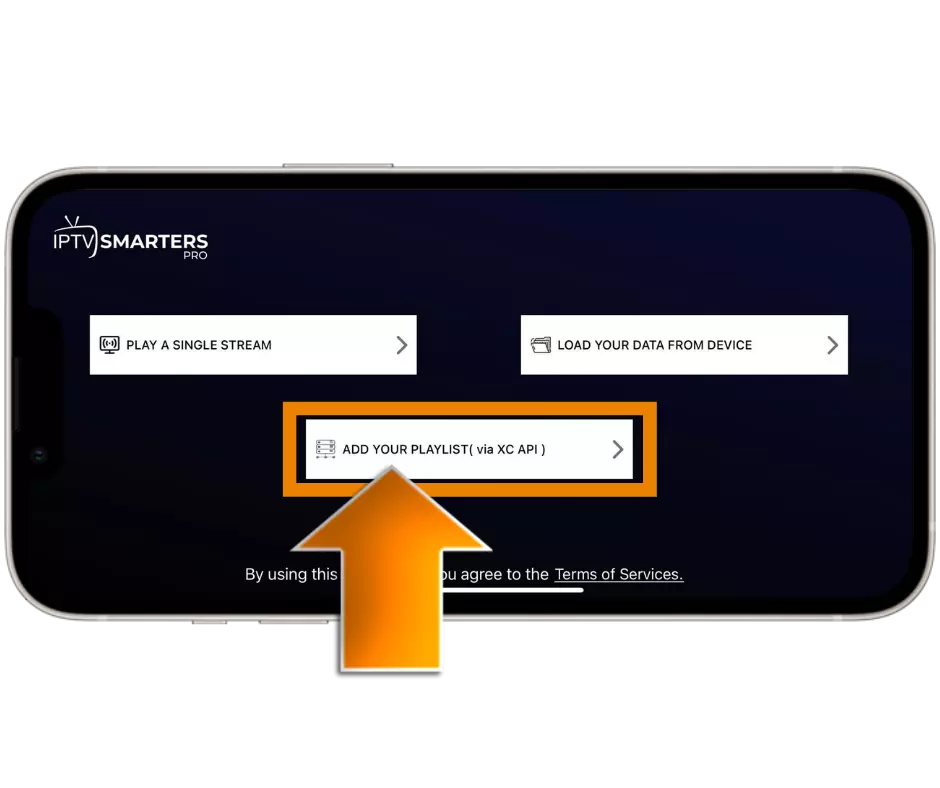
4- Enter a custom profile name (such as “My IPTV”).
5- Choose the connection method (M3U URL or Xtream Codes API).
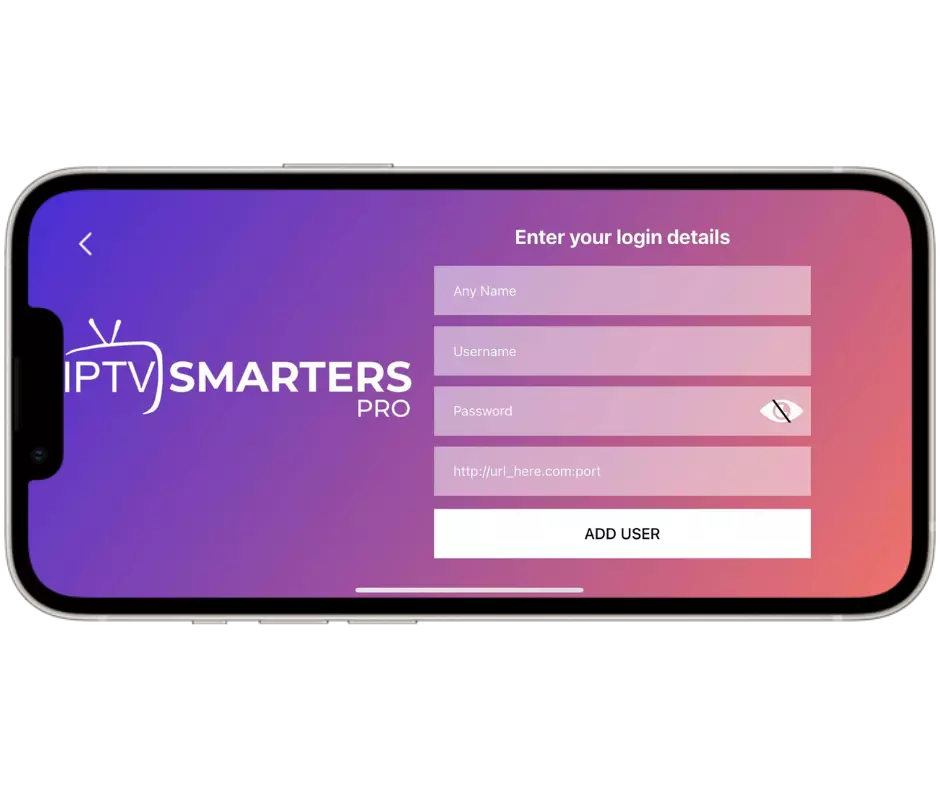
6- Paste the server URL provided by your IPTV service.
7- Enter your username and password without spaces.
8- Tap “Save” or “Connect” to validate the configuration.
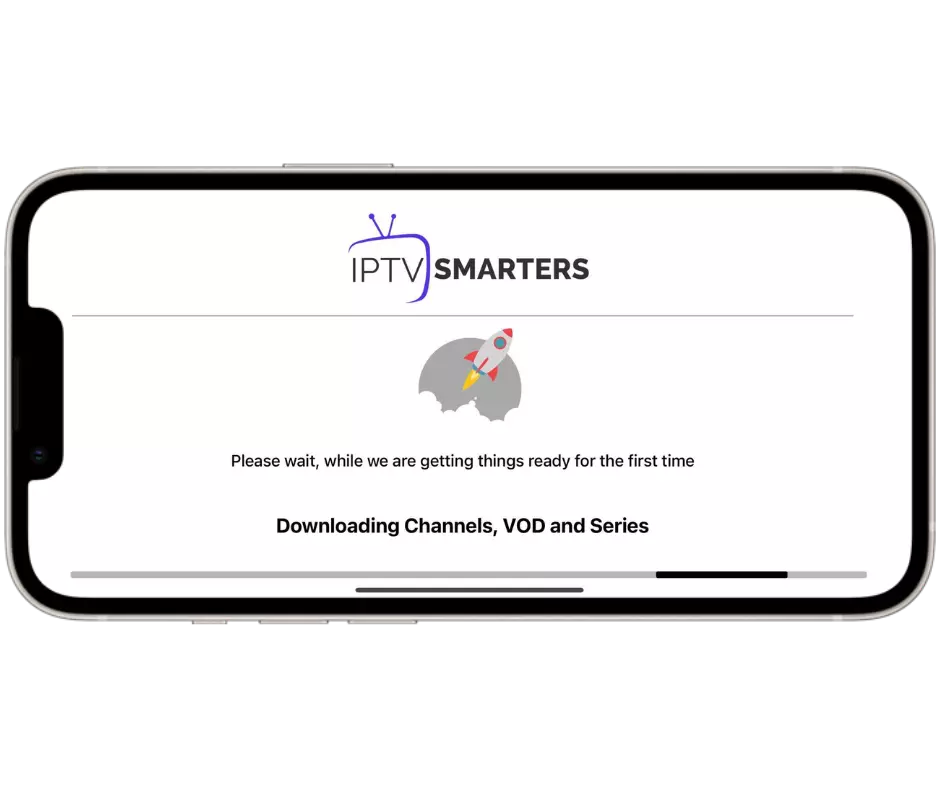
The app will then automatically load your channel list, VOD library, and EPG within a few seconds. Be patient if the catalog is large — initial loading can take up to 2 minutes for thousands of channels.
Step 7: Test your installation and customize your experience
The final step is to test the streaming on a few channels and customize the app to fit your preferences. A properly configured app should display channels instantly with no buffering.
1- Open the live TV section to load the first channel.
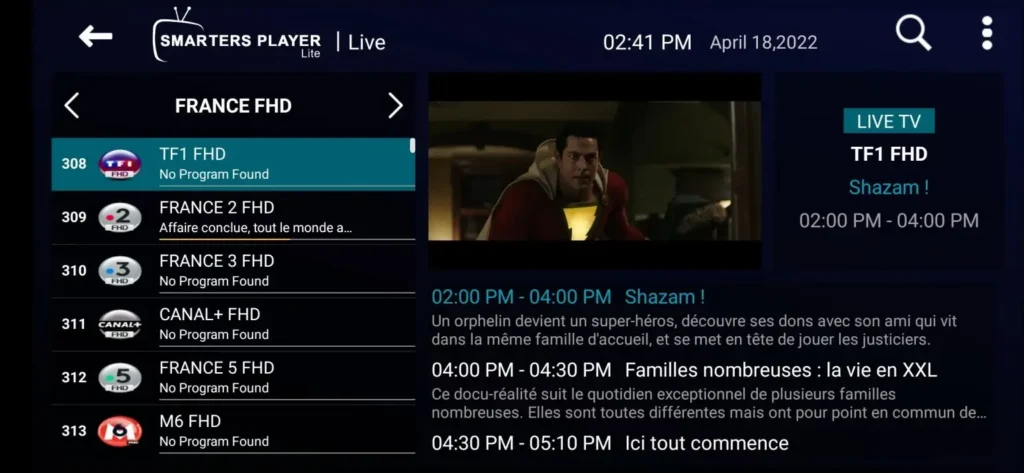
2- Test an SD, HD, and 4K channel to verify streaming quality.
3- Navigate through categories (sports, movies, news, kids).
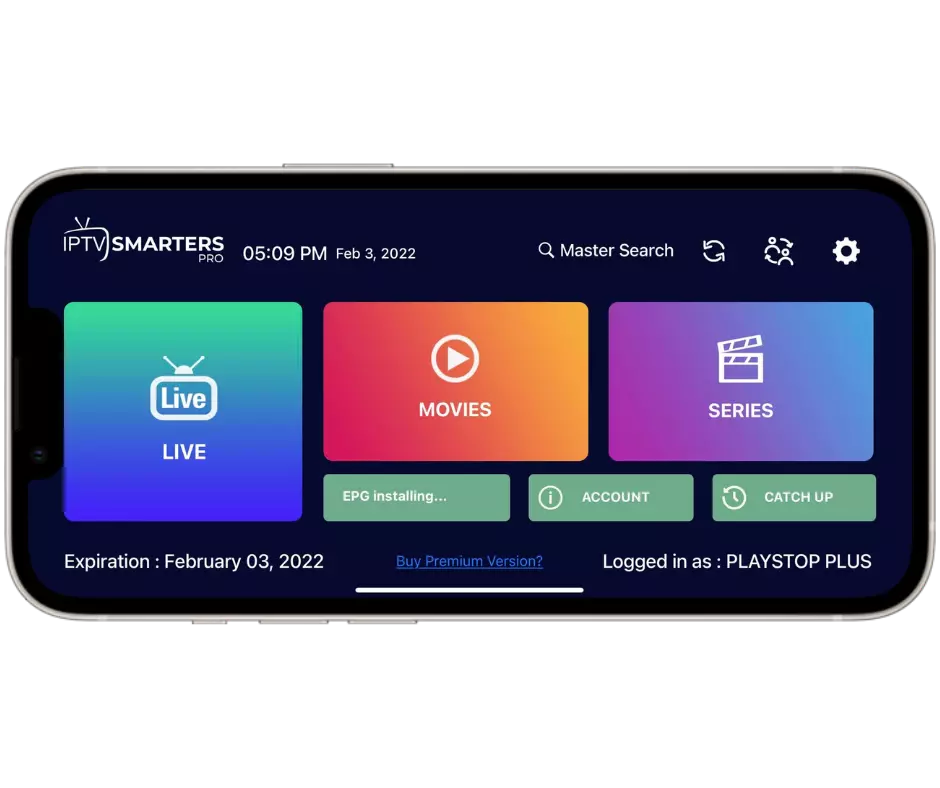
4- Add your favorite channels to the favorites tab.
5- Enable the EPG (Electronic Program Guide) in app settings.
6- Adjust video quality and buffer size for your connection.
7- Test the catch-up or replay feature if your subscription includes it.
If everything works smoothly, your installation is complete. In case of issues (chaînel won’t load, video freezes), restart the app, clear the cache, or contact your provider’s 24/7 support team for fast troubleshooting.
Comparison Table: Best IPTV Apps for iPhone
Here is a complete comparison of the most popular IPTV apps available for iPhone on the App Store.
| App | Price | Format Support | Best For | iOS Version |
| IPTV Smarters Player Lite | Free | M3U, Xtream Codes | Most users (popular & stable) | iOS 14+ |
| GSE Smart IPTV | Free / Paid | M3U, Xtream, EPG | Multi-format, advanced features | iOS 13+ |
| IPTV Smarter Player | Free | M3U, Xtream | Clean alternative interface | iOS 14+ |
| OTT Navigator | Paid | M3U, Xtream, advanced EPG | Power users, recording | iOS 13+ |
| Streamio Player | Free | M3U | Light app, basic streaming | iOS 12+ |
| Flix IPTV | Free / Paid | M3U URL | Quick setup, minimal features | iOS 13+ |
| iPlayTV | Paid | M3U, Xtream, EPG | Customization, premium feel | iOS 14+ |
Conclusion
Installing IPTV on an iPhone is a simple process that takes less than 10 minutes when following the 7 essential steps: verify iOS compatibility, prepare a stable internet connection, choose the right app, download it from the App Store, get your credentials, configure the app, and finally test the streaming.
With the right combination of an updated iPhone, a reliable IPTV app, and a verified provider, you transform your phone into a portable TV with access to thousands of channels and VOD titles in HD or 4K.
To enjoy uninterrupted streaming, stable servers, dedicated 24/7 support, and a satisfaction-guaranteed experience, choose a reliable IPTV provider with optimized infrastructure for mobile devices. With your iPhone properly configured, your entire entertainment world fits in your pocket, accessible anywhere with a Wi-Fi or 4G/5G connection.
FAQ — Install IPTV on iPhone
How long does it take to install IPTV on iPhone?
Less than 10 minutes total, including the app download, credentials entry, and the first stream test.
Do I need to jailbreak my iPhone to install IPTV?
No. All IPTV apps for iPhone are available directly through the official Apple App Store without any jailbreak required.
Which iOS version is required for IPTV apps?
Most modern IPTV apps require iOS 14 or later, but some still support iOS 13. Always update to the latest iOS for the best compatibility and security.
Can I install IPTV on an old iPhone (iPhone 7 or earlier)?
Yes, if it supports at least iOS 12. Some apps may not be optimized for older devices, but the basic streaming will still work normally.
Is it safe to use IPTV apps on iPhone?
Yes, when you download apps from the official App Store and subscribe to a verified IPTV provider. Avoid sideloading apps from unknown sources.
Can I use the same IPTV subscription on iPhone and other devices?
Yes, as long as your subscription plan allows multi-device usage. Check the simultaneous-stream limit before sharing across multiple devices.
Does IPTV consume a lot of battery on iPhone?
Yes, IPTV streaming is one of the most demanding activities for iPhone battery. Plug in your charger or expect 2–3 hours of streaming on a full charge.