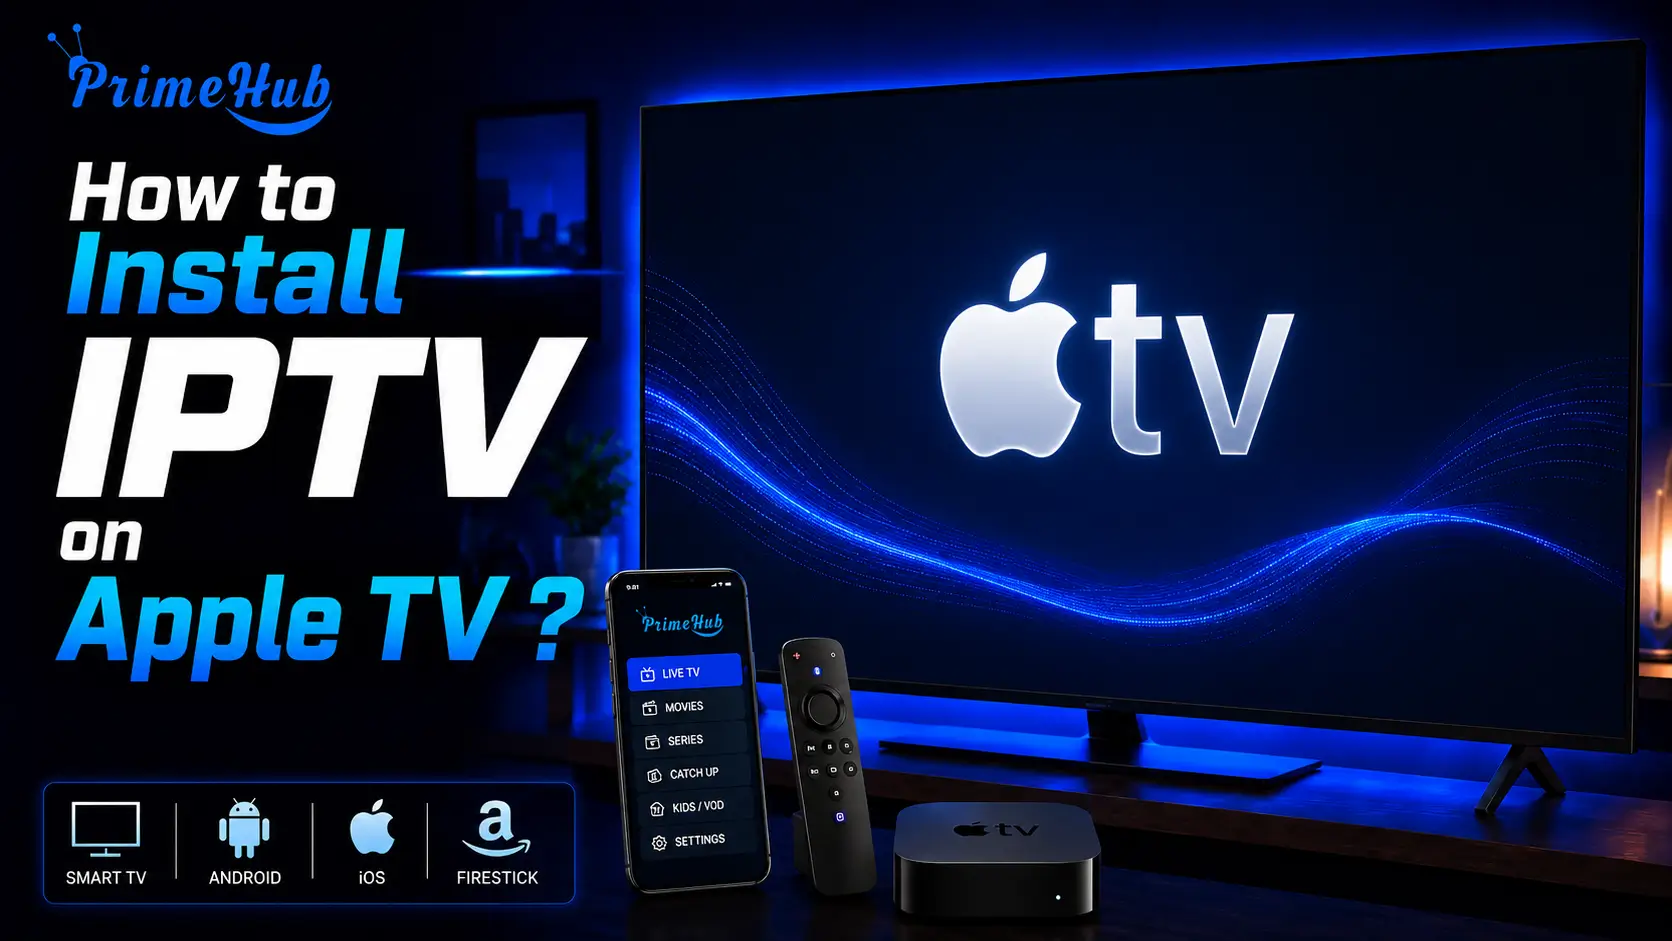
To install IPTV on Apple TV, open the App Store on the device, search for an IPTV player that supports M3U playlists or server credentials, install it, then open it and enter the details your provider gave you.
There is no sideloading on Apple TV, so whatever appears in the App Store is your complete list of options. The trade-off is that installation is genuinely simple: no permissions, no security prompts, and no helper utilities. Most people are watching within five minutes, and the only real preparation is having the login details or playlist information from your IPTV subscription ready before you start.
Apple TV is the most restricted of the major streaming devices, and also one of the easiest to set up. Those two facts are connected. Because nothing can be installed from outside the store, there are no extra steps, but there are fewer players to choose from.
Follow the steps below and it will work first time.
Step 1 — Gather what you need
Before opening anything, collect the details your provider sent you. Two things matter, and many people only receive one.
- Find your connection details, either a single long playlist link, or a server address with a username and password.
- Look for a separate programme guide address, often ending in .xml or .xml.gz.
- If you only have the playlist link, ask your provider for the guide address now.
- Check your connection speed, around 10 Mbps for HD, 25 Mbps or more for 4K.
- Confirm how many simultaneous streams your plan allows.
The playlist and the guide are two different links. Many providers send only the first, and subscribers then wonder why the schedule never appears. Asking now saves a support message later.
That last point about simultaneous streams also matters. Testing a new device while another screen is still playing is a common way to produce an empty channel list that looks like a broken subscription.
Step 2 — Check your Apple TV model
Not every Apple TV can run current IPTV players, so it’s worth confirming before you start hunting for one.
On the home screen, open Settings.
Select General, then About.
Note the model name and the software version shown.
Check that your software is up to date under Settings → System
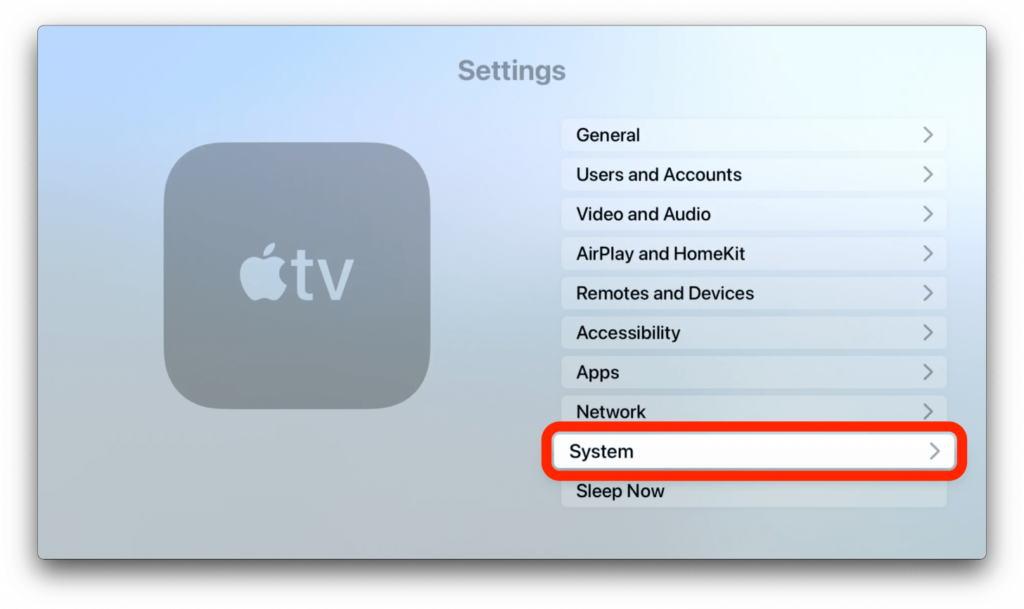
→ Software Updates.
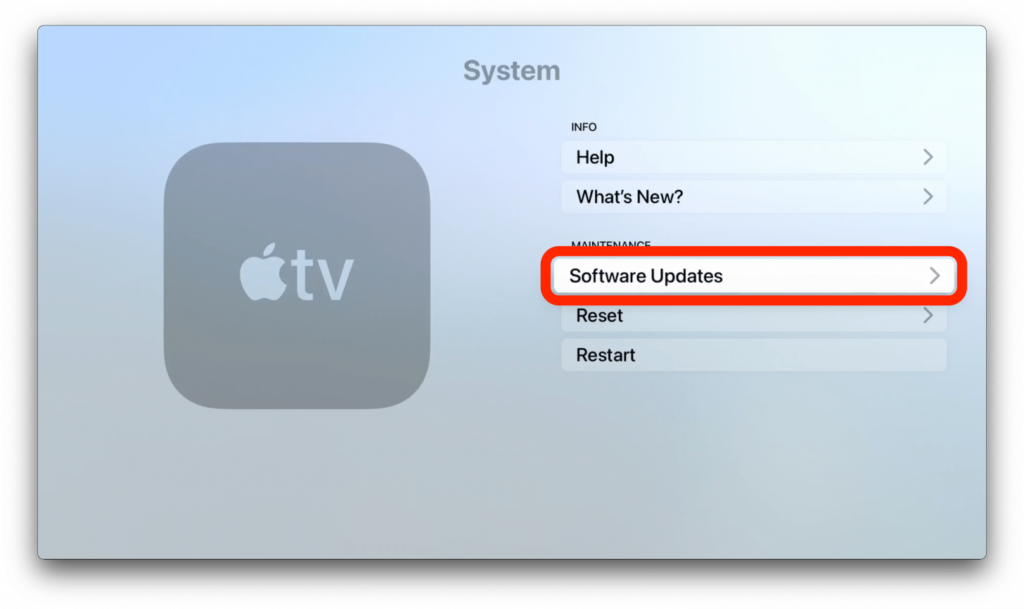
Install any pending update before continuing.
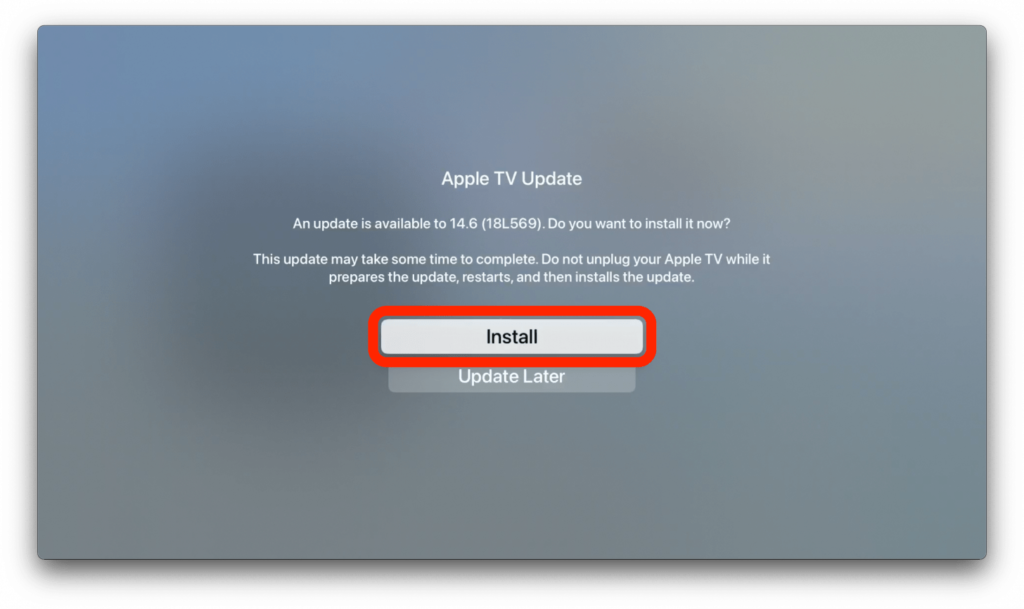
Older models are the limiting factor. Apps in the store set a minimum system version, and devices that can no longer update simply fall outside it. If a player refuses to install and gives no clear reason, this is almost always why.
Current-generation boxes handle 4K comfortably and rarely struggle with large channel lists, which is one of the platform’s genuine strengths.
Step 3 — Install a player from the App Store
This is the whole installation. There is no alternative route, and no configuration to unlock first.
From the home screen, open the App Store.
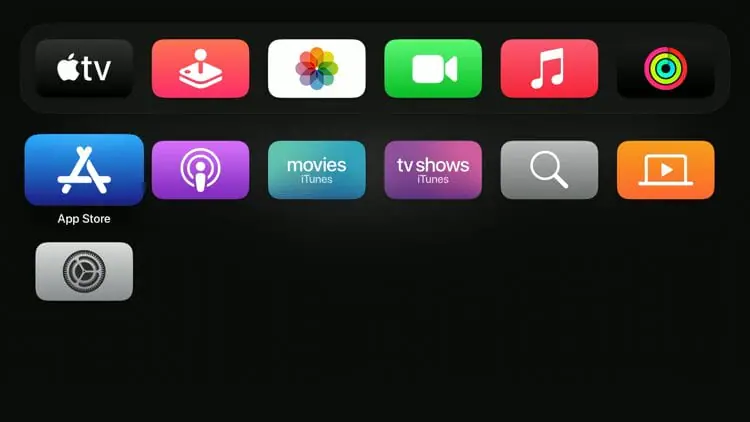
Select the Search tab.
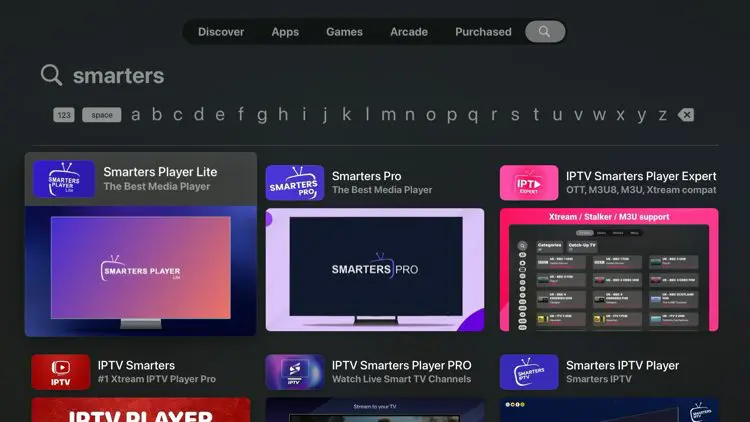
Search for an IPTV player supporting M3U or server credentials like (IPTV Smarters Lite).
Click on the download icon.
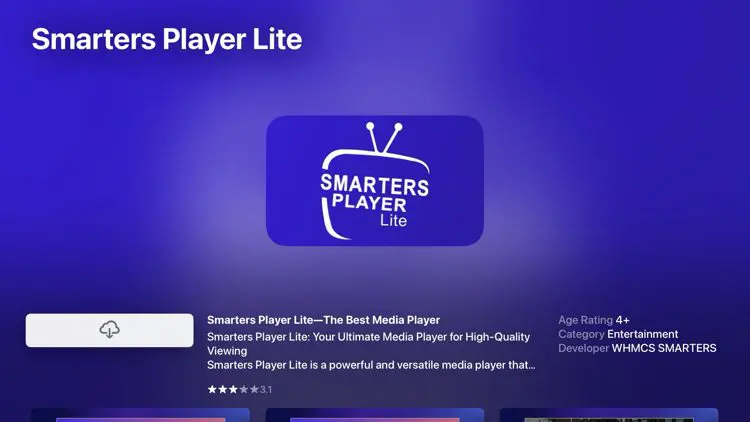
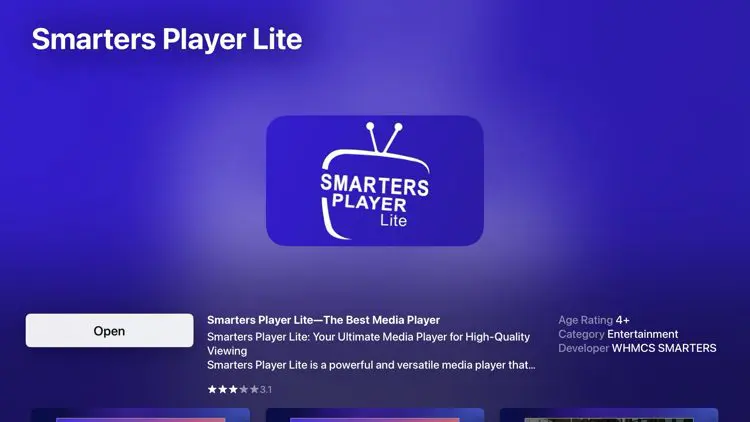
Wait for the app to install then click Open
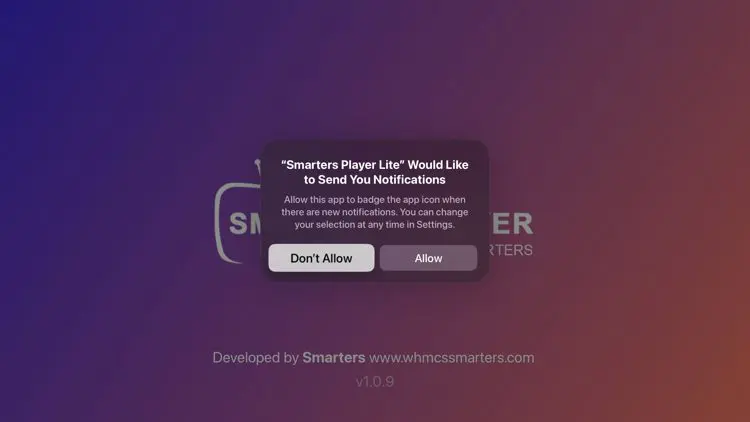
Open the app’s page and check whether it accepts notifications from your provider, if needed.
Select Get or the price button to install it.
Read the description before installing. Players on this platform vary more than elsewhere in what they accept. Some handle only playlist links, others only server credentials, and a few support both. Installing one that doesn’t match your provider’s format is the most common wasted step here.
There is no sideloading on Apple TV. No installer files, no developer utility, no workaround that works for ordinary users. Guides suggesting otherwise are describing a different platform.
Step 4 — Add your playlist
With the player installed, entering your details is straightforward, and there’s a shortcut that makes it much faster.
Open the player from your home screen.
Choose Add playlist or the equivalent option.
Select your connection type a single link, or server credentials.
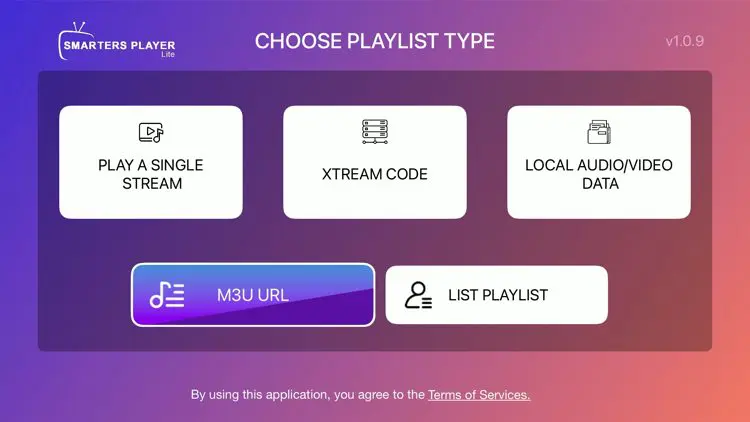
Enter your details, each value in its own field.
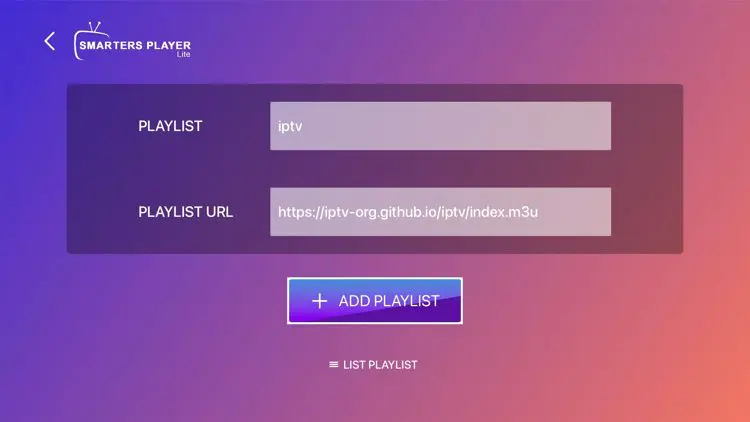
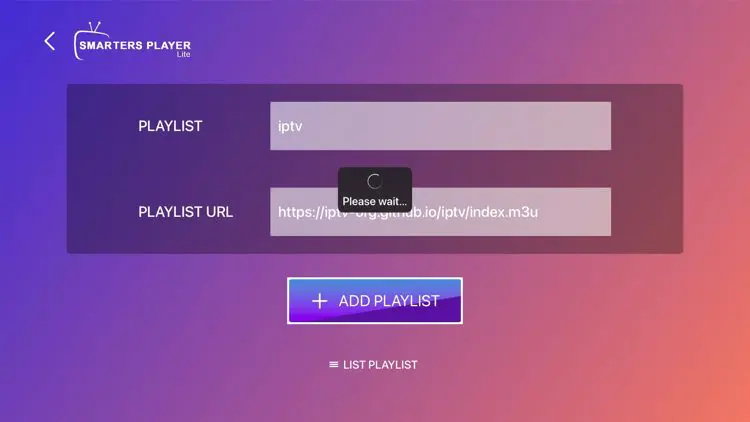
Save or confirm to load your channel list.
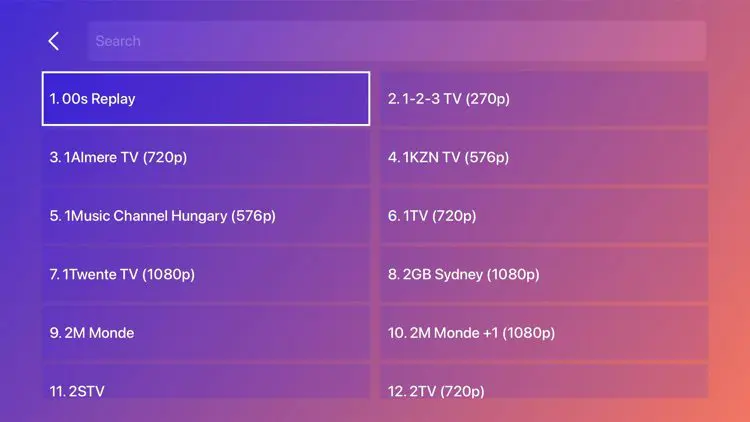
You have successfully installed IPTV Smarters.
Use your phone’s keyboard instead of the on-screen one. When an Apple TV text field is active and your phone is on the same network and signed into the same account, a notification appears on the phone letting you type directly. For a hundred-character link, this is the difference between thirty seconds and five minutes.
If your provider gave you three separate values, server, username and password, each goes in its own box. Pasting all three into one field is the most common failure at this step.
Step 5 — Add the programme guide
With server credentials this usually happens automatically. With a playlist link you’ll normally need to add the guide yourself.
- Open the player’s Settings or playlist options.
- Find the EPG or Programme guide field.
- Paste your XMLTV guide address.
- Save and return to the main screen.
- Wait for the guide to populate.
Give it a couple of minutes. A guide file covers hundreds of channels across several days and can run to tens of megabytes. The player has to download, unpack and match every entry before anything appears, usually with no progress shown. An empty guide after thirty seconds means nothing at all.
If the player has no guide field at all, it doesn’t support external EPG sources. That’s a limitation of the app rather than a setting you’ve missed.
Step 6 — Test and organise
A few minutes of checking now prevents a lot of guessing later, and a short tidy-up changes daily use more than any other setting.
- Open a channel from one group, then another from a different group.
- Confirm programme titles appear beside the channel names.
- Open the films or series section if your subscription includes one.
- Mark the channels you watch as favourites.
- Hide the groups you’ll never open.
One channel failing while others work points to a problem with that stream at your provider. Every channel failing points to your setup or your network. Establishing which of the two you have takes seconds and decides what to do next.
Hiding unwanted groups is the highest-value ten minutes here. Regional variants and foreign-language sections make up the bulk of most lists, and removing them from view makes the app feel like a different product.
Using AirPlay when no player suits you
If nothing in the store accepts your provider’s format, AirPlay is a reliable fallback. Your phone, tablet or computer plays the stream and sends the picture to the television.
- Connect the Apple device and the Apple TV to the same Wi-Fi network.
- Open an IPTV player on the phone, tablet or computer.
- Start playback.
- Open Control Centre and select Screen Mirroring.
- Choose your Apple TV from the list.
Nothing is installed on the Apple TV with this method, which is its main advantage. You use whichever player you prefer on your phone, with all its features intact.
The trade-off is that the source device is now tied up. It has to stay awake, stay on the network and stay in the room, and battery drain over a full evening is significant. Keep it on a charger.
Apple TV compared with other devices
Understanding where this platform sits helps set expectations. This table shows the difference at a glance.
| Apple TV | Streaming stick | Smart TV | |
| Player choice | Limited | Very wide | Limited |
| Manual installation | No | Yes | No |
| Setup difficulty | Very easy | Moderate | Easy |
| Performance | Very good | Good | Variable |
| Storage available | Generous | Small | Small |
| Text entry | Phone keyboard | Awkward | Awkward |
Apple TV trades choice for reliability. You get fewer players, but the hardware is fast, memory is generous, large channel lists load without complaint, and text entry through the phone is the best on any platform. For households that value things simply working, that’s often the right trade.
Extra settings worth configuring
None of these are required, but each takes a minute and makes a real difference.
- Set your time zone correctly under Settings → General. If the guide appears but sits hours out of place, this is the cause every time.
- Use a wired connection if your model has an Ethernet port. Most buffering originates in the network rather than the app.
- Choose the 5 GHz band when a cable isn’t practical.
- Match the output frame rate to your content under Settings → Video and Audio. This removes the subtle judder some people notice without being able to name it.
- Turn off automatic app updates if a specific player version works well for you.
- Restart properly when troubleshooting — unplug for thirty seconds rather than using standby.
Troubleshooting the common problems
The symptom usually identifies the cause, which saves a lot of trial and error.
| What you see | Likely cause | What to do |
| App won’t install | Software version too old | Update, or the model is unsupported |
| Login failed | Details in the wrong fields | Enter server, user and password separately |
| Channel list empty | Dead link or expired plan | Test the link in a browser |
| Channels work, guide blank | No guide address entered | Add it in the player’s settings |
| No guide field in the app | Player doesn’t support EPG | Use a different player |
| Guide shifted by hours | Time zone wrong | Fix in Settings → General |
| Constant buffering | Network | Use a cable, close other apps |
| AirPlay keeps dropping | Source device sleeping | Disable sleep, keep it charging |
Testing your link in a browser is the most useful check on this list. Paste your playlist address into any browser on a computer: if it downloads a text file, the link is live and the fault is on your side. If it errors, the problem is with your provider and nothing you change on the Apple TV will help.
Frequently Asked Questions
Can I sideload an IPTV app on Apple TV?
No. The platform doesn’t allow it. Whatever is in the App Store is your complete list of options.
Why are there fewer players than on other devices?
Store policies restrict apps linked to third-party content delivery, so fewer developers publish here.
Do I need a subscription to use a player?
Yes. Players contain no channels of their own. You supply a playlist from a service you subscribe to.
Why can’t I install a particular app?
Usually your software version is below the app’s minimum. Older models that can no longer update fall outside it permanently.
Do I need a separate guide address?
With server credentials, usually not. With a single playlist link, generally yes.
How do I avoid typing long links with the remote?
Use your phone. When a text field is active, a notification lets you type on the phone keyboard instead.
Is AirPlay as good as a native app?
Close, but not identical. It adds a small delay and ties up the source device throughout.
Why is my guide a few hours out?
Your time zone is wrong. Fix it in Settings → General, then restart the app.
Can I record programmes?
Rarely. Recording is uncommon among players on this platform, unlike on other systems.
Can I use the same subscription on other devices?
Yes, up to your plan’s simultaneous stream limit. Beyond that, extra devices show empty lists.
Conclusion
Installing IPTV on Apple TV is the simplest of any major platform, precisely because there’s only one way to do it. Open the App Store, install a player that matches your provider’s format, enter your details, and you’re finished.
The restriction people find frustrating — no sideloading — is also what removes every complicated step found on other devices. There are no permissions to enable, no helper apps, no security warnings and no installer files to source safely.
Three things account for most problems. A player installed that doesn’t accept your provider’s format, which is why reading the description first is worth thirty seconds. The guide address never added, because nobody mentioned it was separate. And the time zone, which shifts the entire schedule and gets blamed on the provider every time.
Use your phone to type your details, prefer a wired connection where you can, and spend ten minutes on favourites. Those three habits will do more for your experience than any other choice you make.
Related Articles
- How to Install IPTV on iPhone?
- How to Mirror IPTV From Your Phone to Your TV?
- Which Box Is Best for IPTV in 2026?
- Can IPTV Be Used on Multiple Devices?
- How to Add Playlist on IPTV?
- How Do I Setup IPTV?
- What Should I Look for Before Buying an IPTV Subscription?
- How to Install IPTV on Smart IPTV?
- How to Use IPTV Smarters Pro on PC?
- What Is a Portal URL IPTV?